Sunday, November 10, 2024
Diy success: constructing a 12x20 storage shed

Alright, folks, listen up! You know that feeling when your garage is overflowing with stuff, and your attic looks like a bomb went off in a thrift store? Well, that was me. I needed a solution, and fast. Building a storage shed was the obvious answer, but the idea seemed daunting. I mean, I'm not exactly a Bob Vila in the making. But let me tell you, it was an incredibly rewarding experience, and guess what? You can do it too!
The first step was the planning. I decided on a 12x20 shed, which was a good size for all the extra stuff I wanted to shove in there. I spent weeks researching different plans online. Some were super complicated, others were too basic. Finally, I found a blueprint that felt just right for my skill level and budget.
Next, the materials. You know, it's one thing to look at a blueprint, but it's another thing to stare down a mountain of lumber at the lumberyard. I felt like a kid lost in a giant candy store. There was so much to choose from! I ended up going with pressure-treated wood for the foundation and floor, and regular lumber for the walls and roof. I also grabbed some heavy-duty roofing shingles, because let's face it, I live in a place where rain can be a real party pooper.
Now, here's the thing about building a shed - it's not just about hammering and sawing (though there's plenty of that too). It's about planning, precision, and patience. I started with the foundation, which was a bit of a pain in the… well, you get the idea. Leveling those pressure-treated beams was like trying to herd cats, but with a lot more sweat and cursing. But once I got the base set, I felt like I was on a roll.
The walls were next, and this is where my trusty circular saw became my best friend. I had to cut all those pieces of wood perfectly, and I must admit, I was a little scared of my own power tools at first. But I practiced a few times, and pretty soon I was cutting through lumber like butter.
The roof was probably the most challenging part, but also the most satisfying. Getting those rafters to line up perfectly was a bit of a puzzle, but once they were in place, I felt like I had achieved something pretty amazing. I even managed to avoid any major injuries, which is always a win in my book.
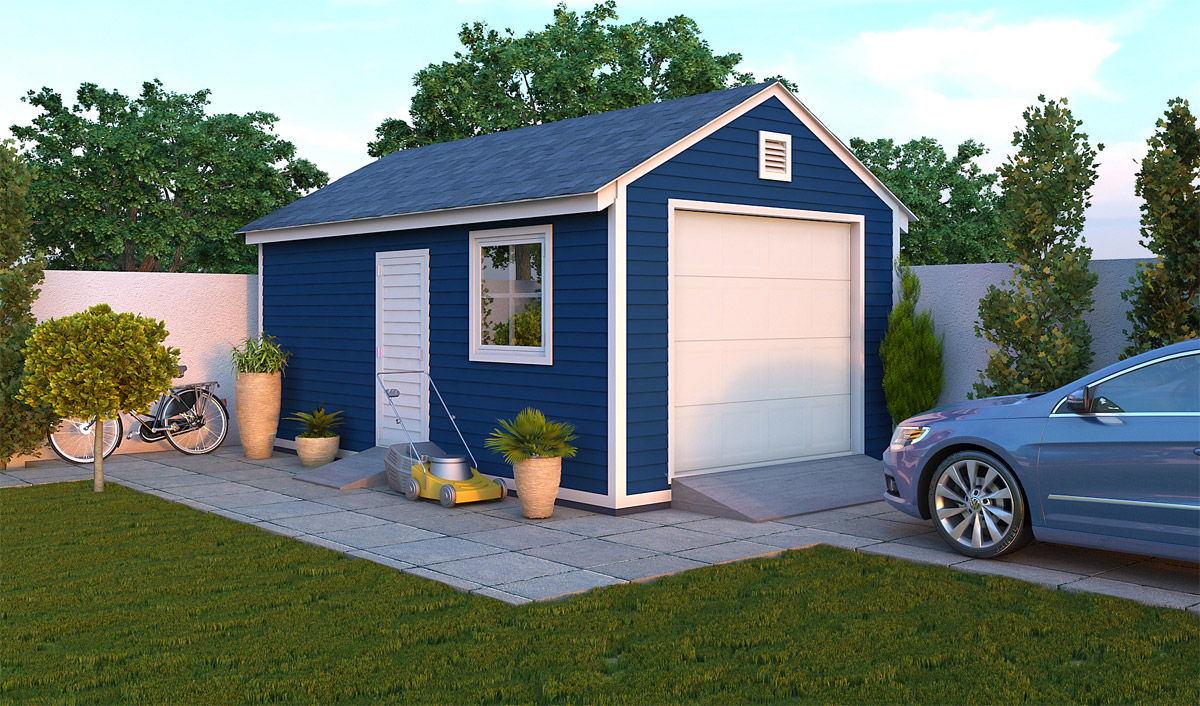
Then came the siding and the shingles. This was my chance to get creative. I went with a classic cedar shake look for the siding, which gave the shed a rustic feel. The shingles were a dark gray, which complimented the cedar beautifully.
I'll admit, there were a few moments when I wanted to throw in the towel. There were times when the weather threw me a curveball, and times when I felt like I was wrestling a bear with a toothpick. But I persevered, and the end result was worth every drop of sweat and every bit of frustration.
The moment I finished the final nail, I stood back and just admired my work. It was the most beautiful shed I'd ever seen, and I felt a sense of pride I couldn't describe. It was more than just a storage shed, it was a testament to my own ingenuity and resilience.
So, if you're thinking about building a storage shed, go for it! It's not easy, but it's definitely rewarding. And trust me, you'll feel a sense of accomplishment that'll last a lifetime. Just remember to wear safety goggles, always double-check your measurements, and don't be afraid to ask for help when you need it. And if you get frustrated, just take a deep breath, grab a cold drink, and remember that you're building something awesome! Now, if you'll excuse me, I have a shed to fill!
No comments:
Post a Comment
Note: Only a member of this blog may post a comment.