Thursday, November 7, 2024
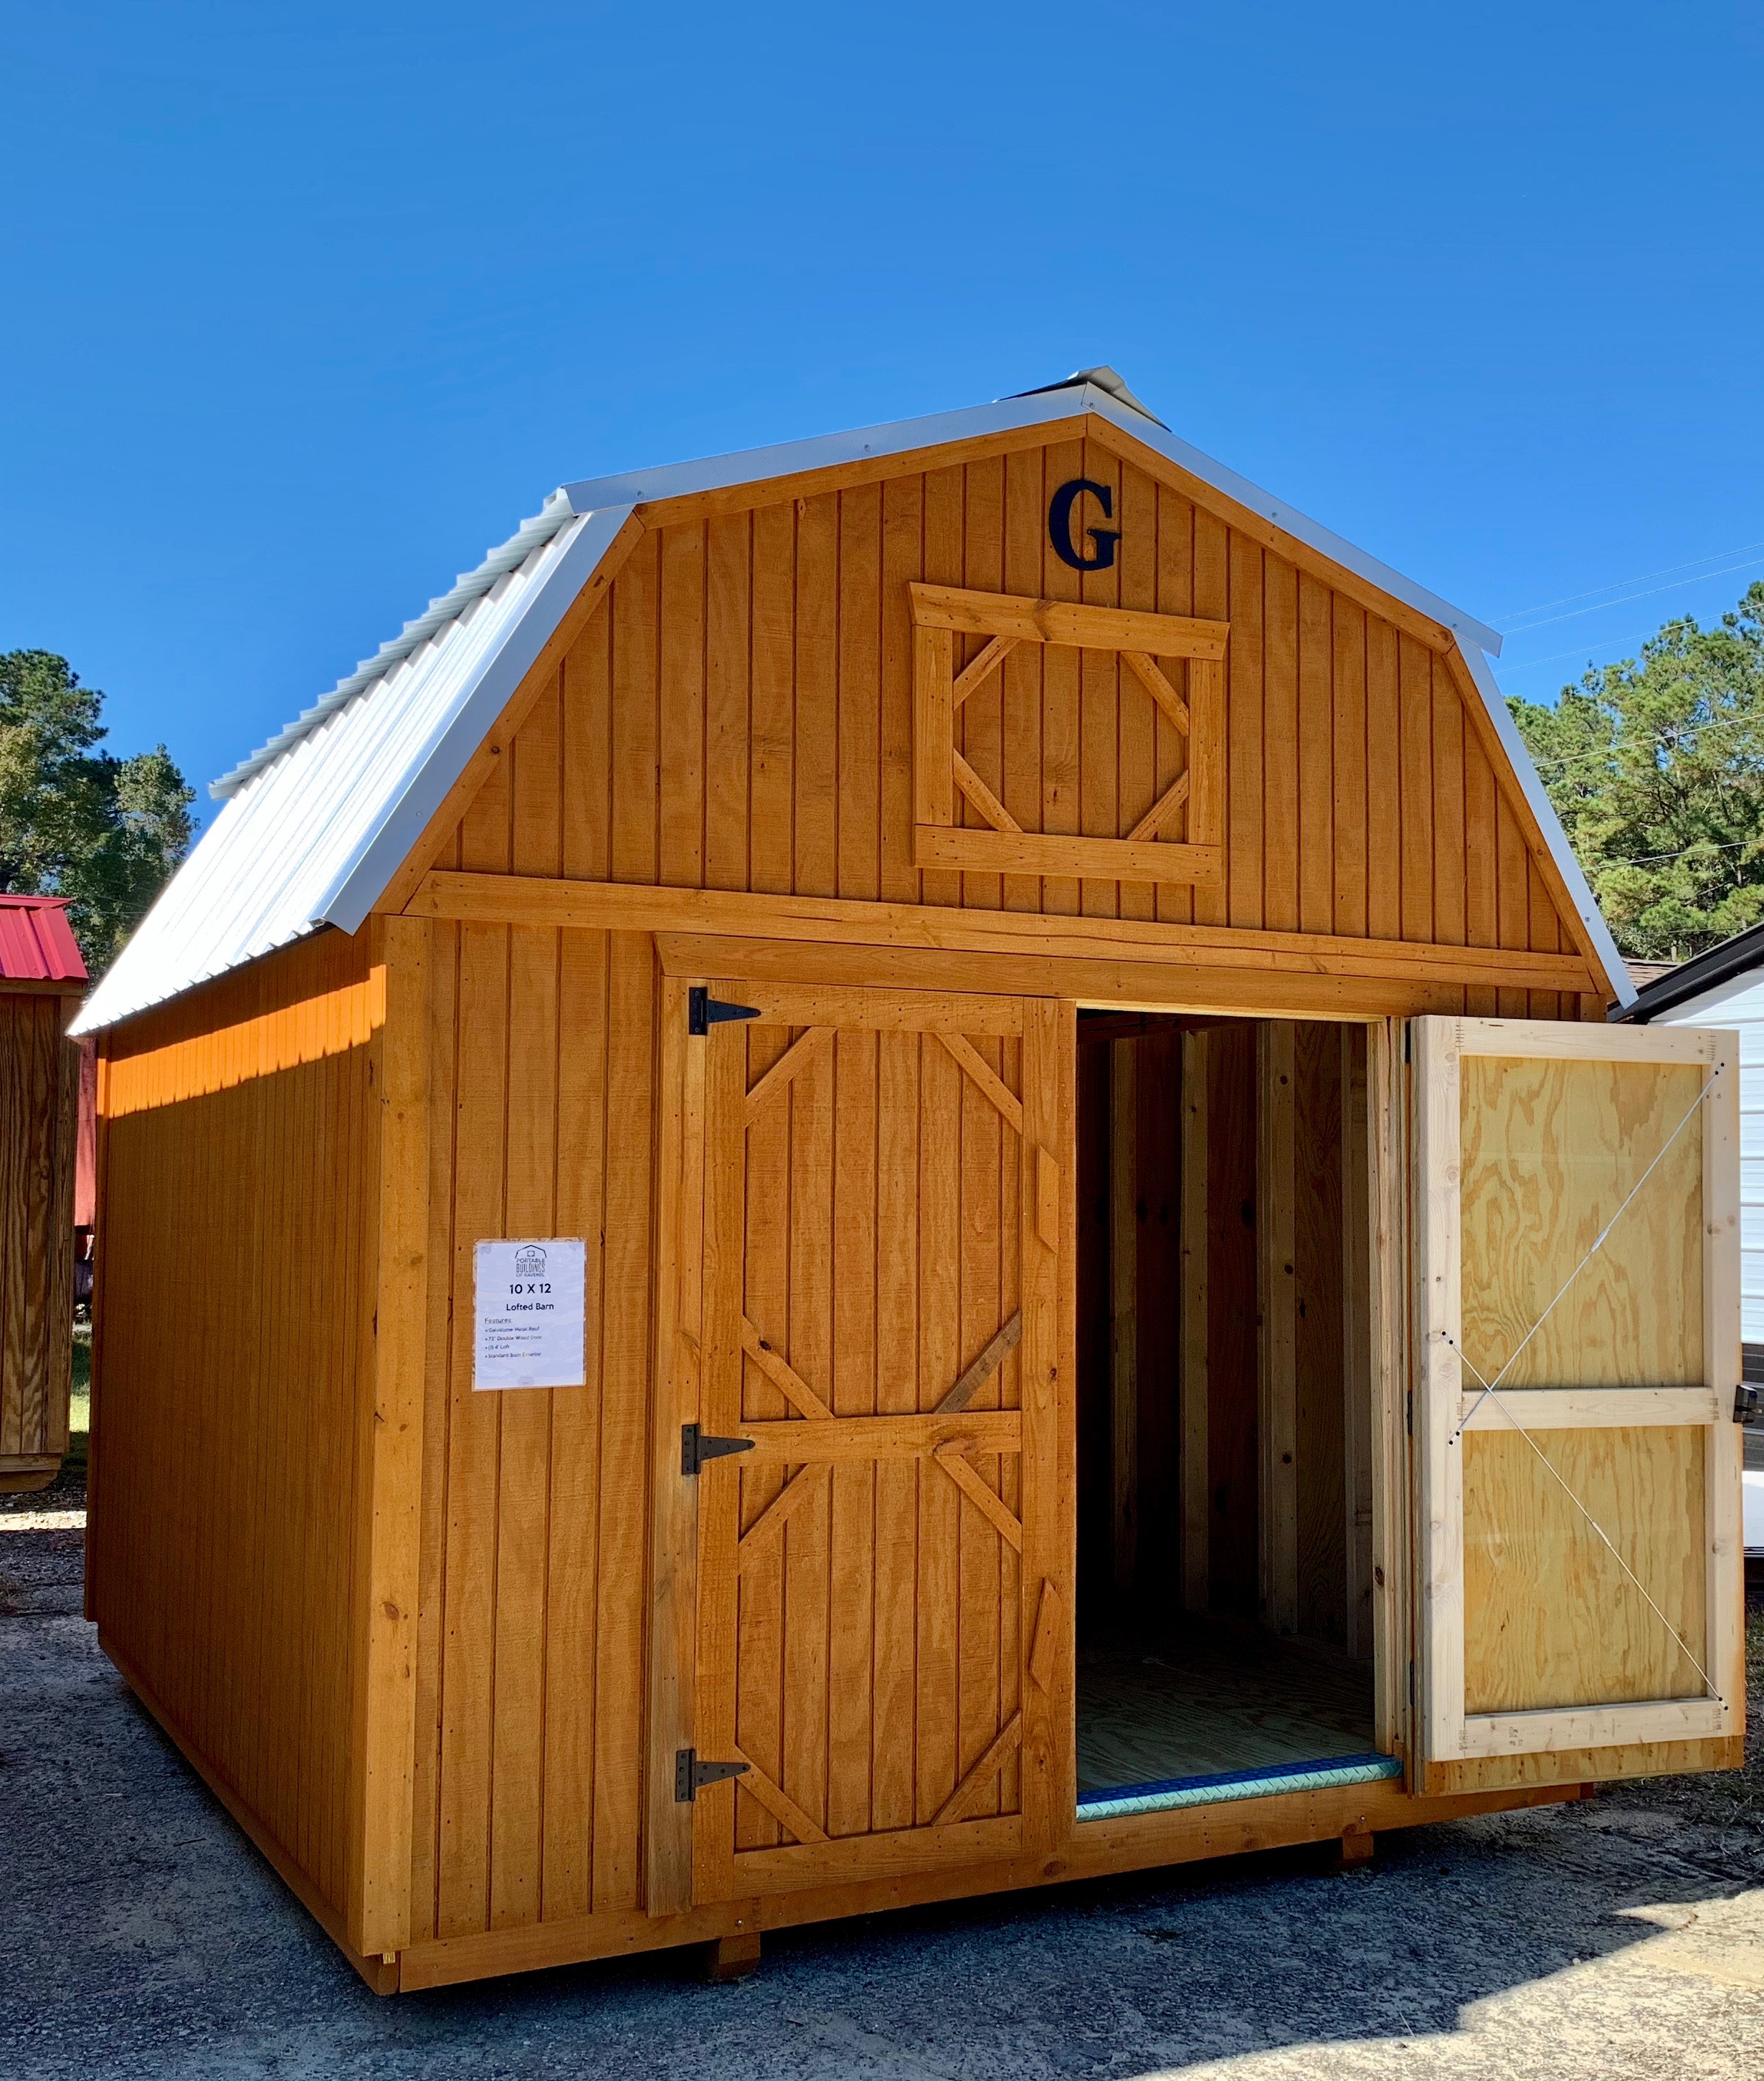
How to build a 10x12 garden shed with a shed roof

Alright, let's talk about building a 10x12 garden shed with a shed roof. This is a classic project that's perfect for the DIY enthusiast. You'll be able to store your tools, lawnmower, bikes, and whatever else you need to keep out of the elements.
Before you start, let's get the planning out of the way. You'll need a solid foundation, and a concrete slab is a great option. Think about where you want the shed to be, and make sure you have enough space for construction.
Materials:
Lumber: You'll need a lot of lumber, and you'll want to choose quality stuff. Think pressure-treated for the foundation and the floor joists, since they'll be exposed to the ground. For the walls and roof, regular framing lumber will do just fine.
Plywood: You'll need plywood for the floor, walls, and roof sheathing.
Roofing: Consider asphalt shingles for a long-lasting and affordable option.
Hardware: Don't forget the nails, screws, staples, and other fasteners you'll need.
Doors and windows: Choose the size and style that fits your needs.
Paint or stain: For a finished look, choose a color that blends with your surroundings.
Tools:
Measuring tape: A must-have for accuracy.
Level: To make sure everything is nice and straight.
Circular saw: For cutting lumber.
Hammer: For nailing.
Drill: For attaching screws and putting in hinges.
Safety glasses: Always wear eye protection!
Work gloves: To protect your hands.
Now, let's break down the steps:
1. Building the Foundation
Preparation: Clear the area where you want the shed to be. Make sure the ground is level.
Concrete Slab: If you're using a concrete slab, you'll need to pour a 4-inch thick slab with rebar for reinforcement.
Footings: If you're building on a wooden foundation, you'll need to dig footings for the posts.
Pressure-Treated Lumber: Build the frame of the foundation using pressure-treated 4x4s or 6x6s.
2. Framing the Floor
Floor Joists: Lay down your floor joists, spaced 16 inches apart. Make sure they're level and attached to the foundation.
Subfloor: Attach plywood to the floor joists to create the subfloor.
3. Framing the Walls
Wall Studs: Cut and install wall studs, spaced 16 inches apart. Use pressure-treated lumber for the bottom plate, which sits on the subfloor.
Wall Sheathing: Attach plywood sheathing to the wall studs.
4. Framing the Roof
Rafters: Cut and install rafters, making sure they're properly supported by the wall studs. You'll want to calculate the slope for your shed roof.
Roof Sheathing: Attach plywood sheathing to the rafters.
5. Installing the Roof
Underlayment: Lay down roofing felt or underlayment to protect the plywood and create a water barrier.
Shingles: Install the roofing shingles according to the manufacturer's instructions.
Gable Ends: Frame and cover the gable ends with plywood and finish with siding or trim.
6. Installing Doors and Windows
Door Frame: Install the door frame, making sure it's level and plumb.
Door: Hang the door on the hinges.
Window Frames: Install the window frames, making sure they're level and plumb.
Windows: Install the windows.
7. Finishing Touches
Siding: Install siding to the exterior walls.
Trim: Add trim around the windows, doors, and roof edges.
Paint or Stain: Apply paint or stain to the exterior of the shed.
Interior: Finish the interior of the shed with drywall, paint, or paneling.
Tips and Tricks:
Measure twice, cut once: This is the golden rule of woodworking. Double-check all your measurements before making cuts.
Use a level: Make sure everything is level and plumb as you go. This will make your shed look nice and straight.
Check your building codes: Make sure your shed meets the building codes in your area.
Ask for help: Don't be afraid to ask for help from a friend or family member if you need it.
Take your time: Building a shed takes time. Don't rush the process.
Safety:
Wear safety glasses: This will protect your eyes from flying debris.
Wear work gloves: This will protect your hands from splinters and other hazards.
Use a sawhorse: This will help you make accurate cuts.
Keep your work area clean: A cluttered work area can lead to accidents.
Building a 10x12 shed is a great way to add storage space to your property. It's also a rewarding DIY project that you can be proud of. With a little planning, patience, and the right tools, you can build a beautiful and functional shed that will last for years to come.
No comments:
Post a Comment
Note: Only a member of this blog may post a comment.